


Replacement Air Suspension Spring: Fitment and Installation Guides
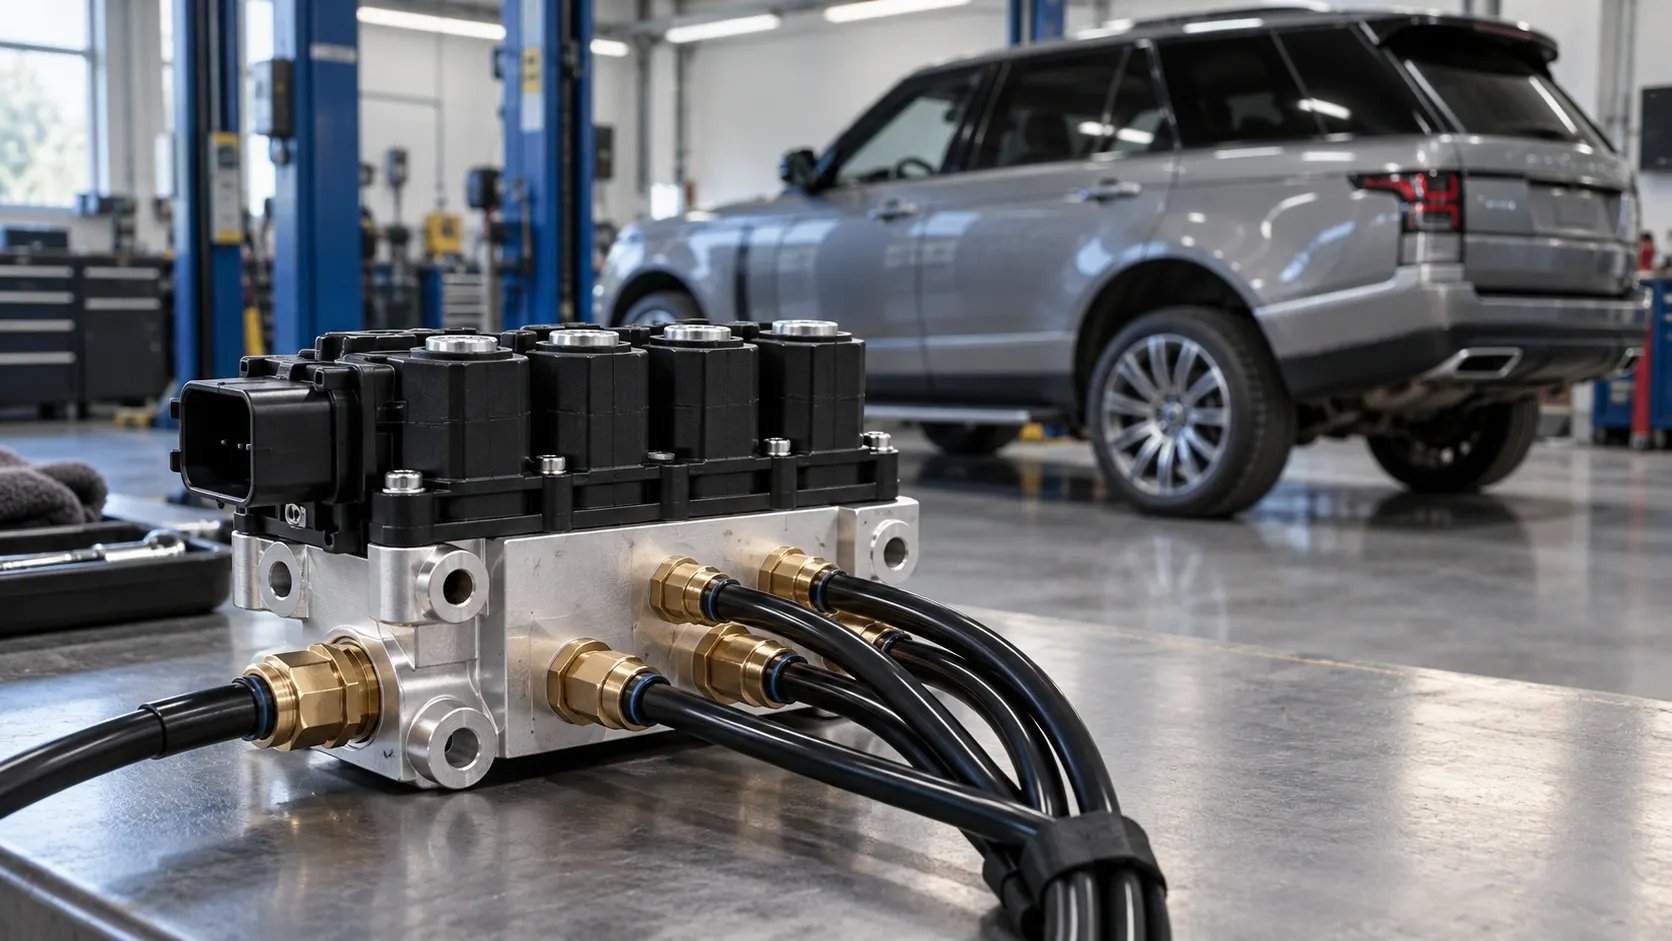
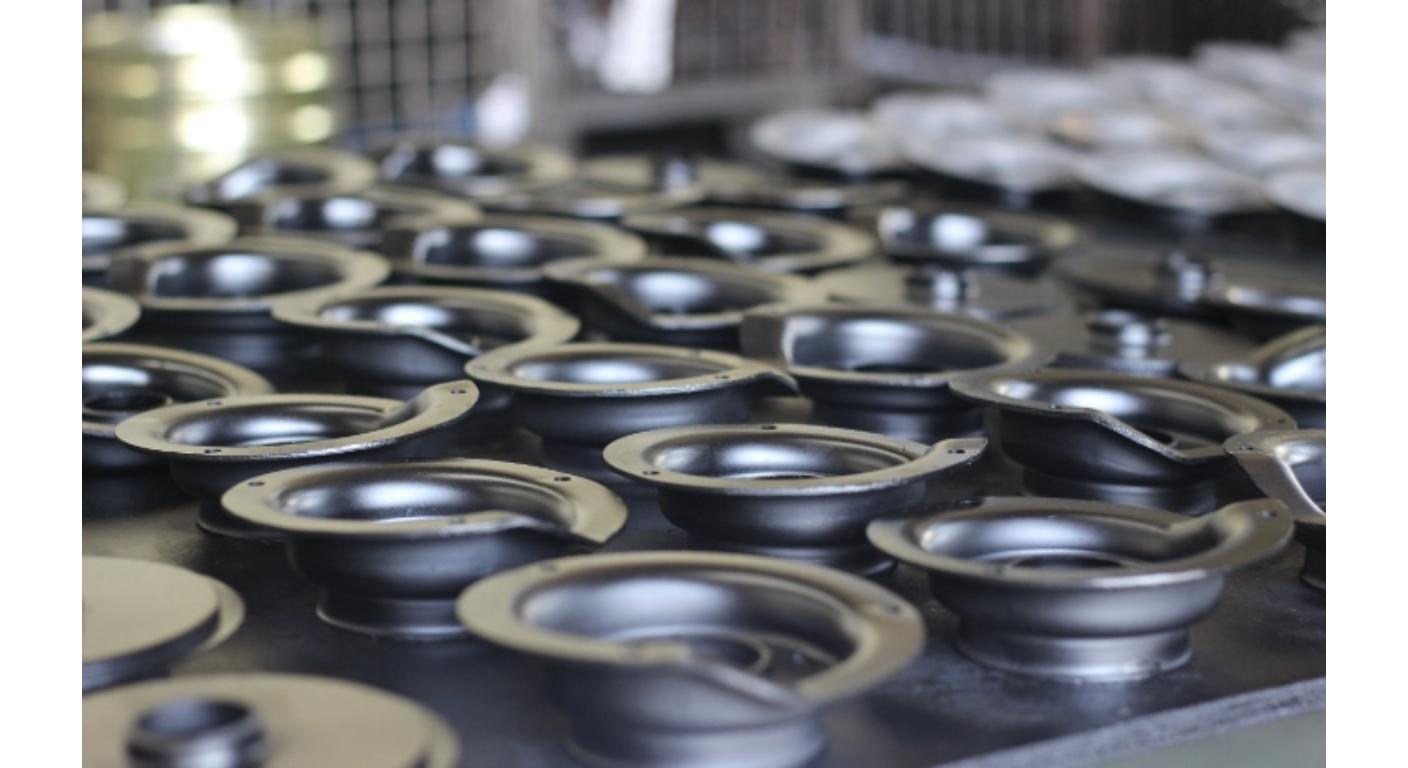
A replacement air suspension spring should bring the vehicle back to more than its original level. It needs to fit in the mounting holes, and seal properly and provide equal support on the axle during suspension movement.
A lot of replacement issues start prior to installation. A part can be the same or have different air connector, lower piston, top mount or left-right configuration. Knowing what you have and what broke is therefore the first step to a reliable repair.
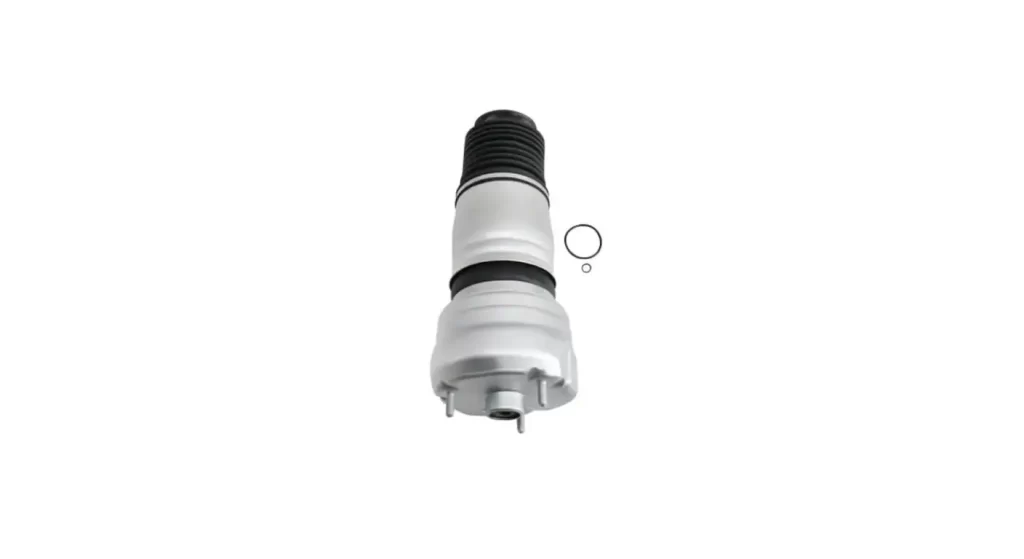
Test to see if the Air Spring is failed.
A low cornered vehicle could be due to a leaking air spring, but could be due to a damaged line, fitting or valve. Check before disassembly.
Check the rubber bellows for cracks, for abrasion and damage around the folds. Put leak detection solution around bellows, crimp ring and air connector with system safely pressurized.
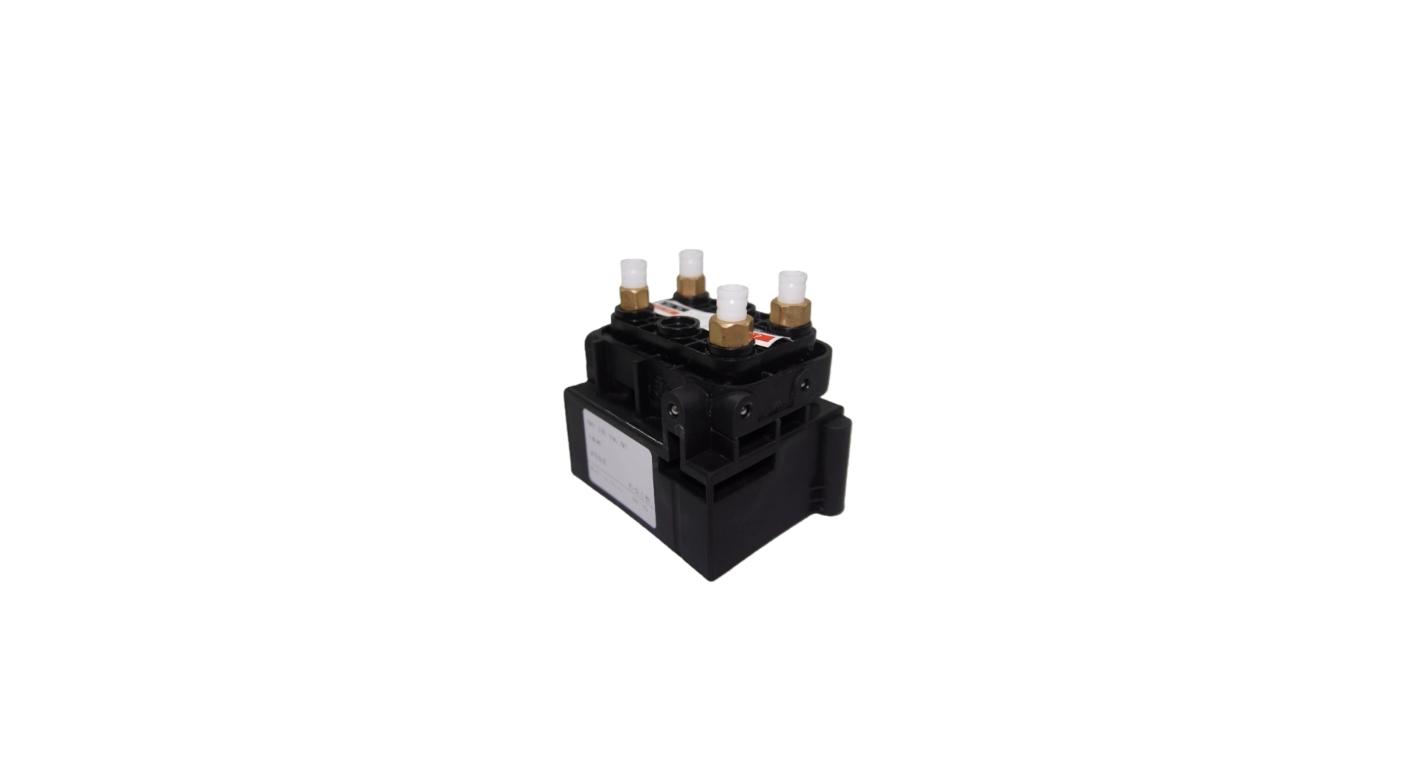
If more than one corner drops in height at the same time, check common air lines and air suspension valve block. An air spring replacement will NOT solve pressure loss problems in other parts of the air system.
See how to identify the Replacement Format.
There are several vehicles that have a separate air spring, which is independent from the shock absorber. Some people use a full air strut, which is a mixture of the spring and damper.
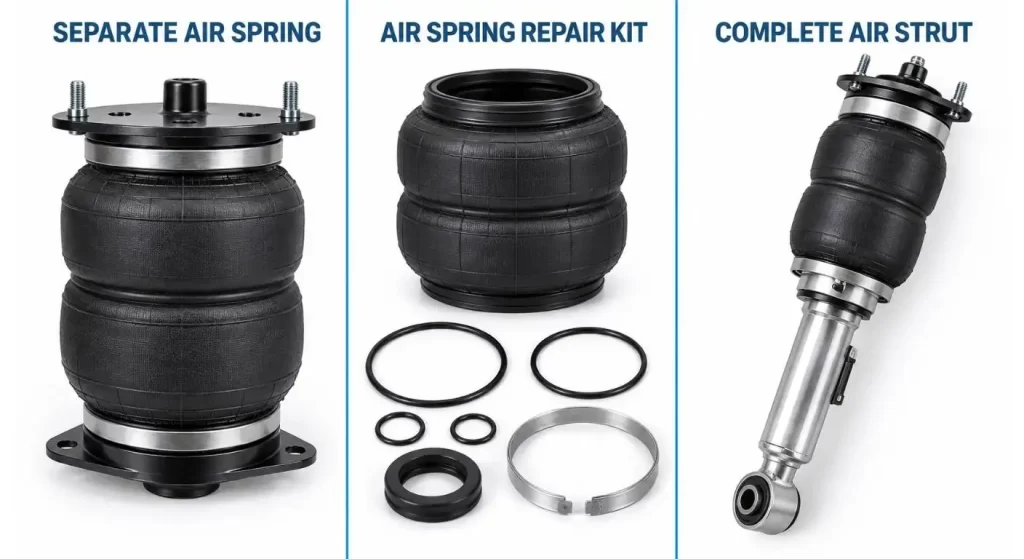
A repair kit can be used to replace the rubber bellows of a reusable assembly only. Before reusing the damper, inspection of the piston, seals and mounting hardware is required with this approach.
They should be able to decide if the need is for an individual air suspension spring, repair kit or a complete air suspension assembly. These vary in terms of the extent of repair work to be done and installation.
| Replacement Format | Parts Replaced | Suitable Condition | Main Check |
| Separate air spring | Pneumatic spring only | Damper remains separate and serviceable | Mounts and air inlet |
| Air spring repair kit | Bellows and related seals | Reusable strut hardware is undamaged | Crimp and sealing surfaces |
| Complete air strut | Air spring and damper assembly | Damper is worn or assembly is integrated | Side, damping type and connector |
| Axle pair | Left and right springs | Both parts have similar age and wear | Pair consistency |
Match More Than the Car Model
Start with the OE number of original part. Then verify the make, model, year, chassis code, drivetrain and suspension package.
Some models are available in multiple generations of chassis. For long-wheelbase, sport-suspension, and electronically controlled, different spring/strut configurations are available.
When the OE number can't be found, give the VIN. Pictures of the original label, top mount, lower piston, and air inlet and electrical connector will aid in identification of similar components.
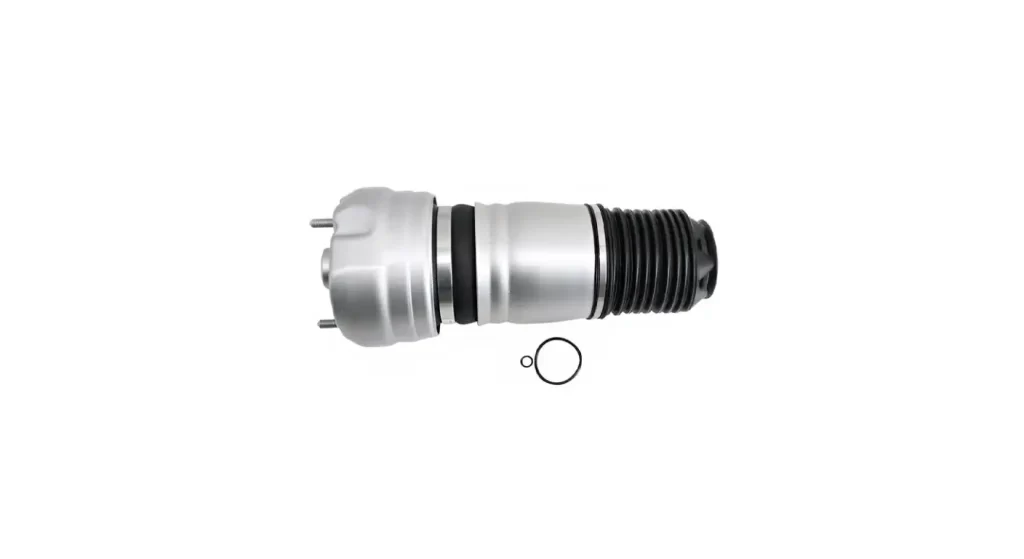
Look at the Front, Rear and Left and Right Positions.
It is possible that both sides have separate rear air springs, but this is not a given. Brackets, wiring and connection locations are common reasons for the side specificity of complete front struts.
Before replacing, check out the replacement versus the removed component. The mounting studs, locking tabs, airline port and locating features should all line up and will not require modification.
Don't push a component of a similar appearance into place. The changing of brackets or connectors can result in sealing, clearance and safety issues.
Determine Single and Pair Replacement
In the event the other air spring is relatively new and has low mileage and passes inspection, a single replacement may be warranted. This is normal in the case of isolated local physical damage, which causes failure.
When both units are original and have undergone the same mileage, climate, road use, pair replacement is often more feasible. Rubber parts of the same age may age in the same manner.
Condition, repair history and access to labour should be taken into account in making the decision. Replacement is not always required for every vehicle but always should be done on both sides.
| Checkpoint | Compare With Original | Risk if Incorrect |
| OE number | Main and superseded references | Wrong vehicle application |
| Installation position | Front, rear, left or right | Bracket or routing conflict |
| Top mount | Studs, tabs and diameter | Spring cannot seat correctly |
| Lower piston | Shape and locking features | Movement or separation |
| Air inlet | Size, thread and orientation | Leakage or line damage |
| Electrical connector | Pins and cable routing | Damping or sensor fault |
Check the system prior to installing the new part.
Inspect air line for scratches, deformations and contamination. Change broken seals and ensure a secure connector locking.
Check for any loose or worn suspension arms, bushings, shock absorbers and height sensor linkages. If the damper is worn, it could bounce even when the new spring is set to the proper ride height.
This could be due to a leak in the air suspension compressor that previously allowed the air suspension compressor to operate too often. Test for compressor noise, compressor time and compressor pressure recover prior to return to service.
Don't Make Common Installation Mistakes
Dispose of the vehicle in accordance with the proper workshop practice and relieve the system pressure prior to removing the spring. It can be extremely dangerous if the vehicle starts to move or if air is released.
Install the air spring in the direction indicated. Ensure upper and lower locating features are completely in place and bellows is not twisted or trapped.
NEVER over inflate an un-supported spring. Ensure it is able to fill out into the right installed form as the suspension is controlled and supported.
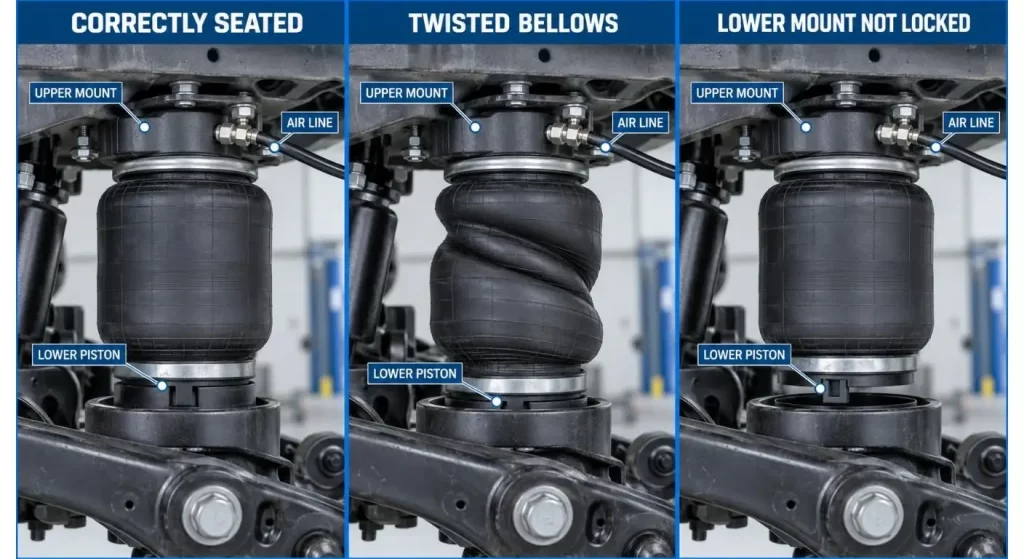
Ramp Up the pressure in a controlled manner
Once the air line has been connected, lift the suspension back up to its normal position and give the command to inflate. This will allow the bellows to open up and fit in place.
Utilize the diagnostic procedure of the vehicle as necessary. Do not apply uncontrolled external force to the compressor, or repeatedly cycle the ignition to lift the vehicle.
Monitor the new spring when it is being inflated. If the bellows folds the wrong way or is touching other parts or is not squarely between its mounts, stop.
Try to test the Repair After Installation.
Use a level surface to measure the height of the vehicle at each wheel. Compare both sides when the suspension gets back to its normal operating position.
Perform another leak test around the connector, crimp area and bellows. Leave the car to park and see if the fixed corner stays up.
Clear ride-height calibration fault codes; perform ride-height calibration if necessary. Road-test should verify stable height, normal ride comfort and no abnormal compressor activity.
Know and assess the quality of replacement parts
Check rubber surface, crimping, mounting plates, air fitting and seals supplied prior to installation. The components must be free from dirt and damage, and comply with the approved product specification.
OE Cross Ref's, vehicle applications and available test information for repeat or wholesale orders. In the product catalogue, HJ Auto Parts showcases replacement springs for various European vehicle platforms.
The VIN and OE number can be sent to the contact page by the buyer for fitment confirmation as well as position and quantity needed for installation.
Conclusion
The first step towards a reliable replacement air suspension spring is to diagnose the issue and match the vehicles. OE number, chassis, position and suspension should be checked.
With proper seating and controlled inflation and testing after installation the new spring will return ride height without creating another leak or overworking the compressor.
FAQs
Q1. What's the difference between an air suspension spring and an air bag?
Yes, it's the flexible pneumatic structure which carries a car's weight. An air strut also comes with a shock absorber.
Q2. In the event of air suspension springs being replaced, should they be replaced in pairs?
When both sides are original and of a similar vintage, pairing it makes sense. When one side is newer, and testing shows it is OK, then that other spring can be replaced.
Q3. Is it ok to use a leaking air spring?
Frequent driving can cause loss of stability and cause the compressor to work too hard. System inspection and repair should be done in a timely fashion.
Q4. Is there a need for a new air spring to be calibrated?
There are ride-height calibration and fault-code clearing processes for some of the vehicles. Proceed with service as per particular chassis.
Q5. Are air springs able to be inflated prior to installation?
It must not be fully air pressured when not surrounded. Control of inflation after the spring has been properly placed in the suspension.


Contact Us
In This Article
- 1 Test to see if the Air Spring is failed.
- 2 See how to identify the Replacement Format.
- 3 Match More Than the Car Model
- 4 Look at the Front, Rear and Left and Right Positions.
- 5 Determine Single and Pair Replacement
- 6 Check the system prior to installing the new part.
- 7 Don't Make Common Installation Mistakes
- 8 Ramp Up the pressure in a controlled manner
- 9 Try to test the Repair After Installation.
- 10 Know and assess the quality of replacement parts
- 11 Conclusion
